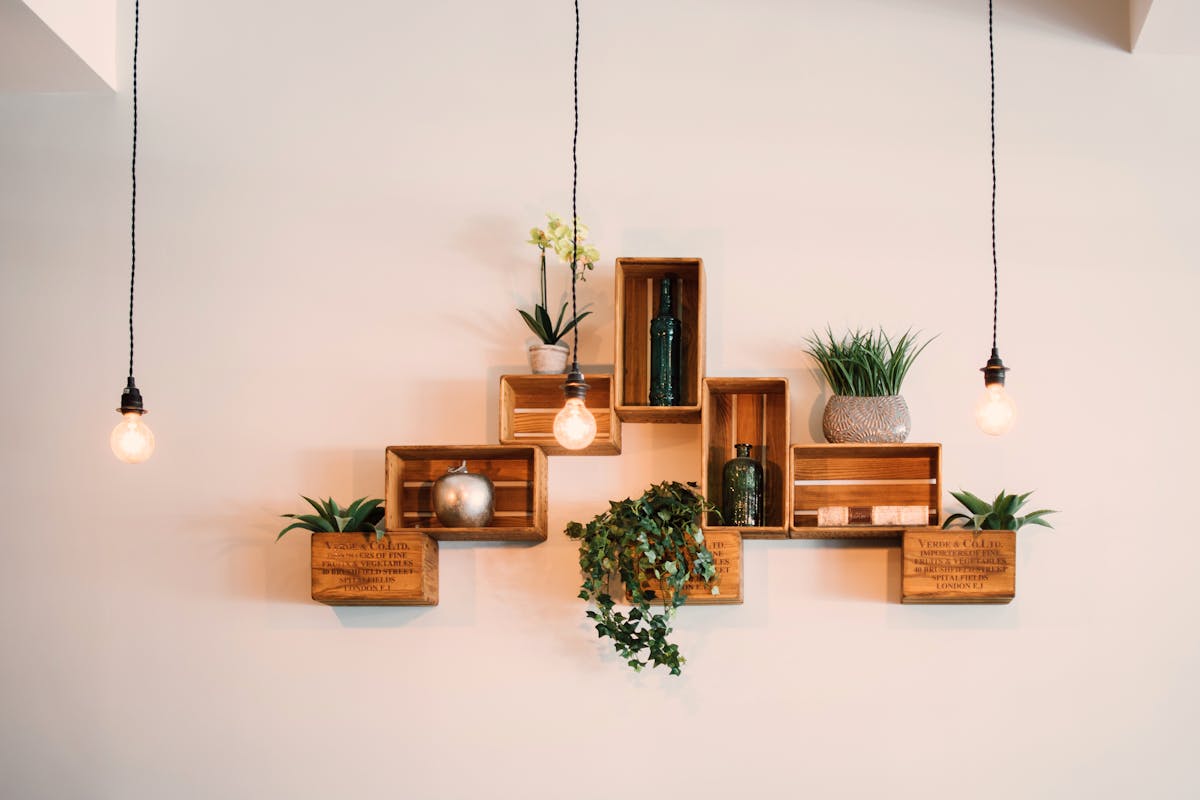
A well-built floating shelf creates the impression of furniture that has been built into the architecture of the room — an effect that dramatically elevates the perceived quality of any space. The techniques for achieving this look range from simple to involved, but even the most basic approach produces results far above what pre-made shelves from a big-box store can offer.

The key differentiator between a shelf that looks expensive and one that looks homemade is usually three things: the thickness and quality of the shelf material, the quality of the finish (edges, paint, and surface), and — most critically — how invisible the mounting hardware is.
Choose the Right Shelf Material
The most convincing shelves use materials with real weight and substance. Solid wood (oak, walnut, pine, maple) cut to 1.5–2 inches thick produces a shelf with visible heft that commands attention. Laminated wood panels from a lumber yard offer stability at lower cost than solid planks. MDF is the most economical option and takes paint exceptionally well — the key is edge treatment with iron-on edge banding or solid wood edging to eliminate the telltale MDF core look. Avoid particle board, which sags under weight and cannot hold screws reliably.
Method 1: Keyhole Bracket System
For lighter shelves (under 25 lbs loaded), keyhole brackets recessed into the back of the shelf provide a nearly invisible mount. Route or chisel two keyhole slots into the back of the shelf, install corresponding keyhole screws into wall studs, and the shelf simply hangs in place. This method allows easy removal for painting or moving, and the mounting hardware is completely invisible from the sides and front.
Method 2: Hidden Steel Rod System
For heavier shelves and a truly seamless look, drill holes in the back edge of the shelf to accept steel rods welded or threaded to a wall plate. The rods slide into the shelf, and the shelf appears to float with no visible means of support. This method requires more precision but produces the most convincing result for thick shelves of solid wood or stone.
- Use at least two rods per shelf, spaced 12–16 inches apart
- Rods should extend into the shelf at least 2/3 of the shelf’s depth
- Wall plate must be anchored to studs or with multiple heavy-duty anchors
- Use a drill press or careful hand drilling to keep holes straight and level
Finishing for a High-End Look
The finish quality is what separates a shelf that reads as furniture from one that reads as DIY. For painted shelves: apply a coat of wood primer, sand smooth, and apply two coats of cabinet-quality paint (satin or semi-gloss sheen) with a foam roller for the flats and a brush for the edges. For wood shelves: sand through grits up to 220, apply a penetrating oil finish or polyurethane, and allow full cure time before loading. Coat the underside and back face of the shelf as well — exposed raw wood undersides undermine the premium appearance of the top surface.
Installation Tips
Level mounting is non-negotiable — a shelf that visibly tilts immediately reads as amateur. Use a long level (at least 24 inches) and check in multiple directions. Mark stud locations and mount all hardware into studs wherever possible. Leave at least 12 inches of vertical clearance between shelves for comfortable access to items. Weight-bearing capacity depends entirely on the mounting method and wall anchor quality — a properly stud-mounted shelf of any of the above methods should comfortably support 50+ lbs.
A set of well-crafted floating shelves, properly mounted and finished, is one of the most satisfying projects a DIYer can complete — functional, beautiful, and genuinely lasting.